Lens
Collects light and determines focal length, field of view and maximum aperture.
Free field guide / No video required
A clear, practical guide to the controls that shape every photograph. Learn what each setting changes, then use it with intention.
Start with the camera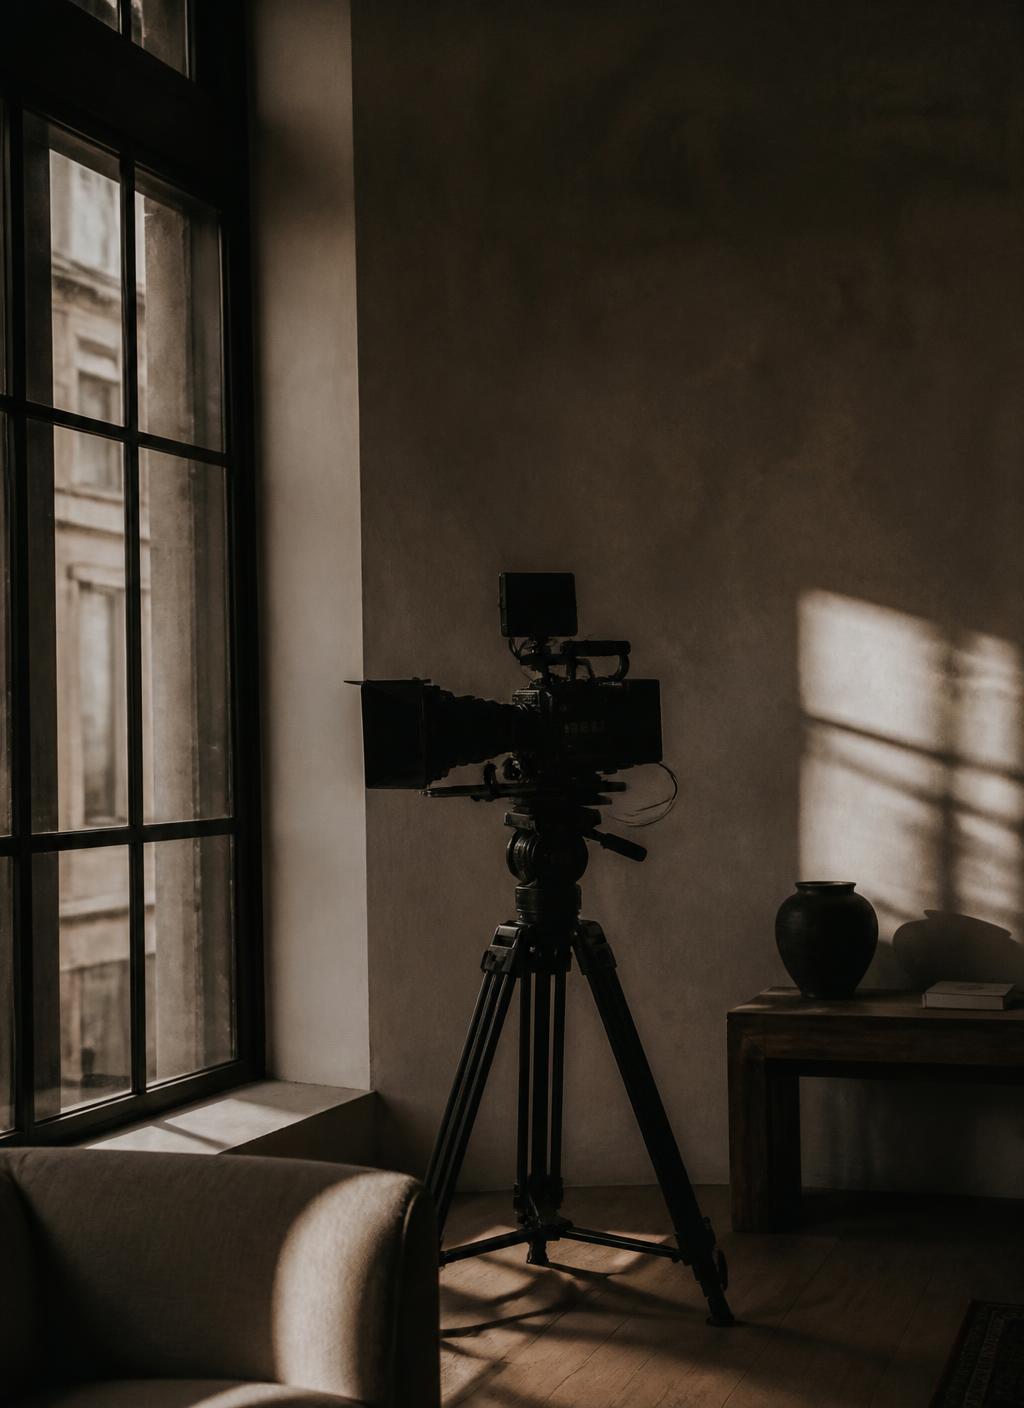
Contents
Chapter 01
Orientation
Every modern mirrorless or DSLR camera follows the same basic logic. Light enters through the lens, reaches the sensor and becomes a file. The buttons simply tell the camera how to handle that light.
Collects light and determines focal length, field of view and maximum aperture.
Records the image. A larger sensor can help with low light and shallow depth of field, but it does not make the photograph for you.
Shows composition, focus and exposure. Turn on the histogram and level if your camera offers them.
Half-press usually focuses and meters. A full press takes the picture.
Assign one dial to aperture and another to shutter speed. Fast access is more useful than menu knowledge.
Choose autofocus mode and focus area. A small movable point is the safest place to begin.
Format it in the camera after backing up. Check remaining space before every important shoot.
Charge it, carry a spare and learn where the battery indicator lives before leaving home.
M / Manual
You choose aperture and shutter speed. Use it when light is consistent or when you want total control.
A or Av / Aperture priority
You choose aperture, the camera chooses shutter speed. Excellent for learning and everyday photography.
S or Tv / Shutter priority
You choose shutter speed, the camera chooses aperture. Useful when movement is the main concern.
Chapter 02
The opening in the lens
Aperture is an adjustable opening inside the lens. It controls how much light enters and how much of the scene appears acceptably sharp from front to back.
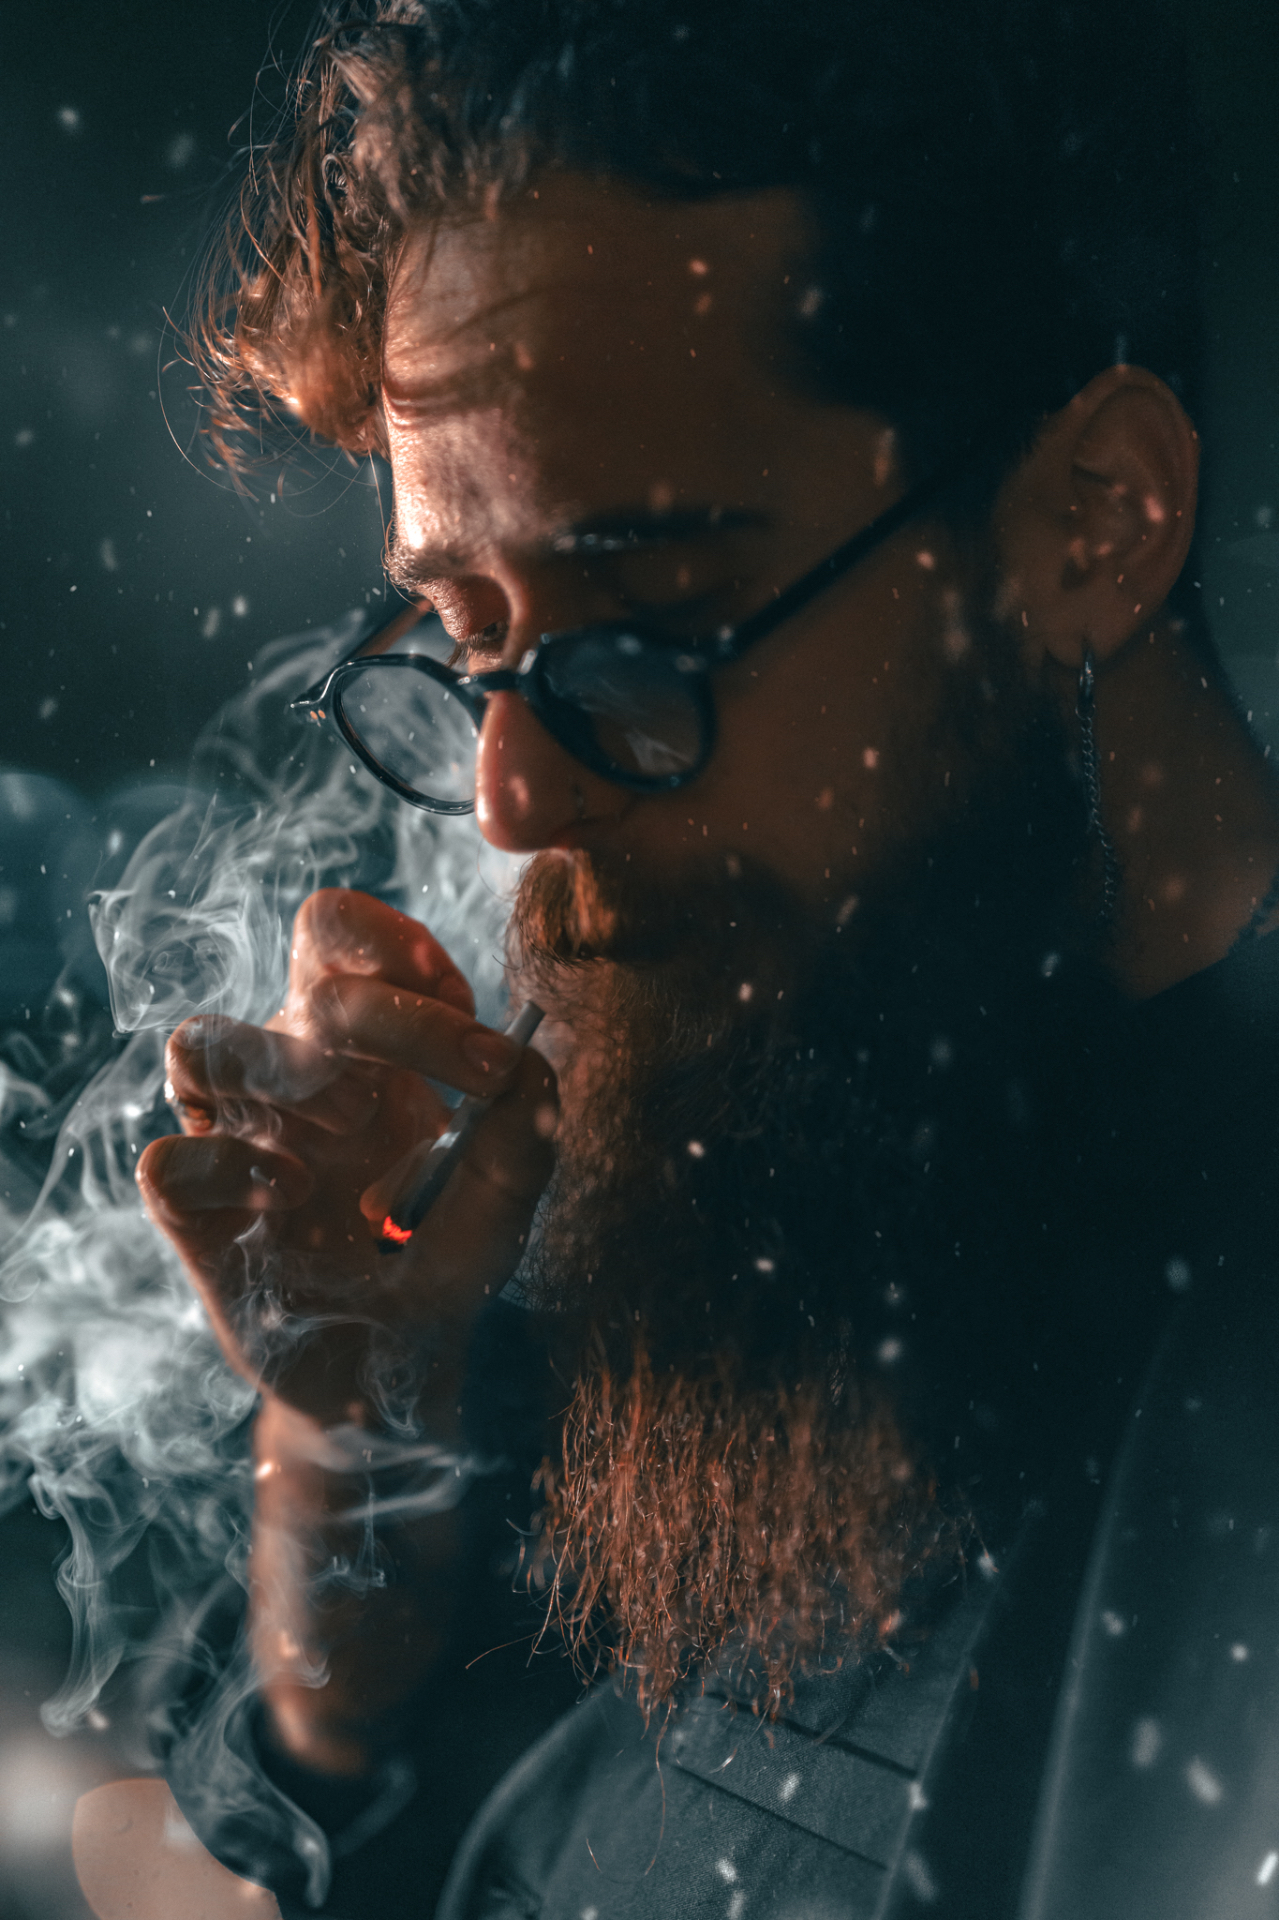 Focus area
Aperture
f/2.8
Result
Shallow focus
Exposure
Bright
Try it for: People, events, close details.
A small number such as f/1.8 means a wide opening. A larger number such as f/11 means a narrow opening.
Move closer to your subject or move the background farther away to make the background softer.
A single face can work at f/1.8. For a group, close down to f/4 or f/5.6 so more eyes stay sharp.
The aperture printed on a lens, such as 35mm f/1.8, is its widest available opening.
Quick check
Chapter 03
The length of the exposure
Shutter speed is how long the sensor records light. A short exposure freezes movement. A long exposure records movement as blur and allows more light to reach the sensor.
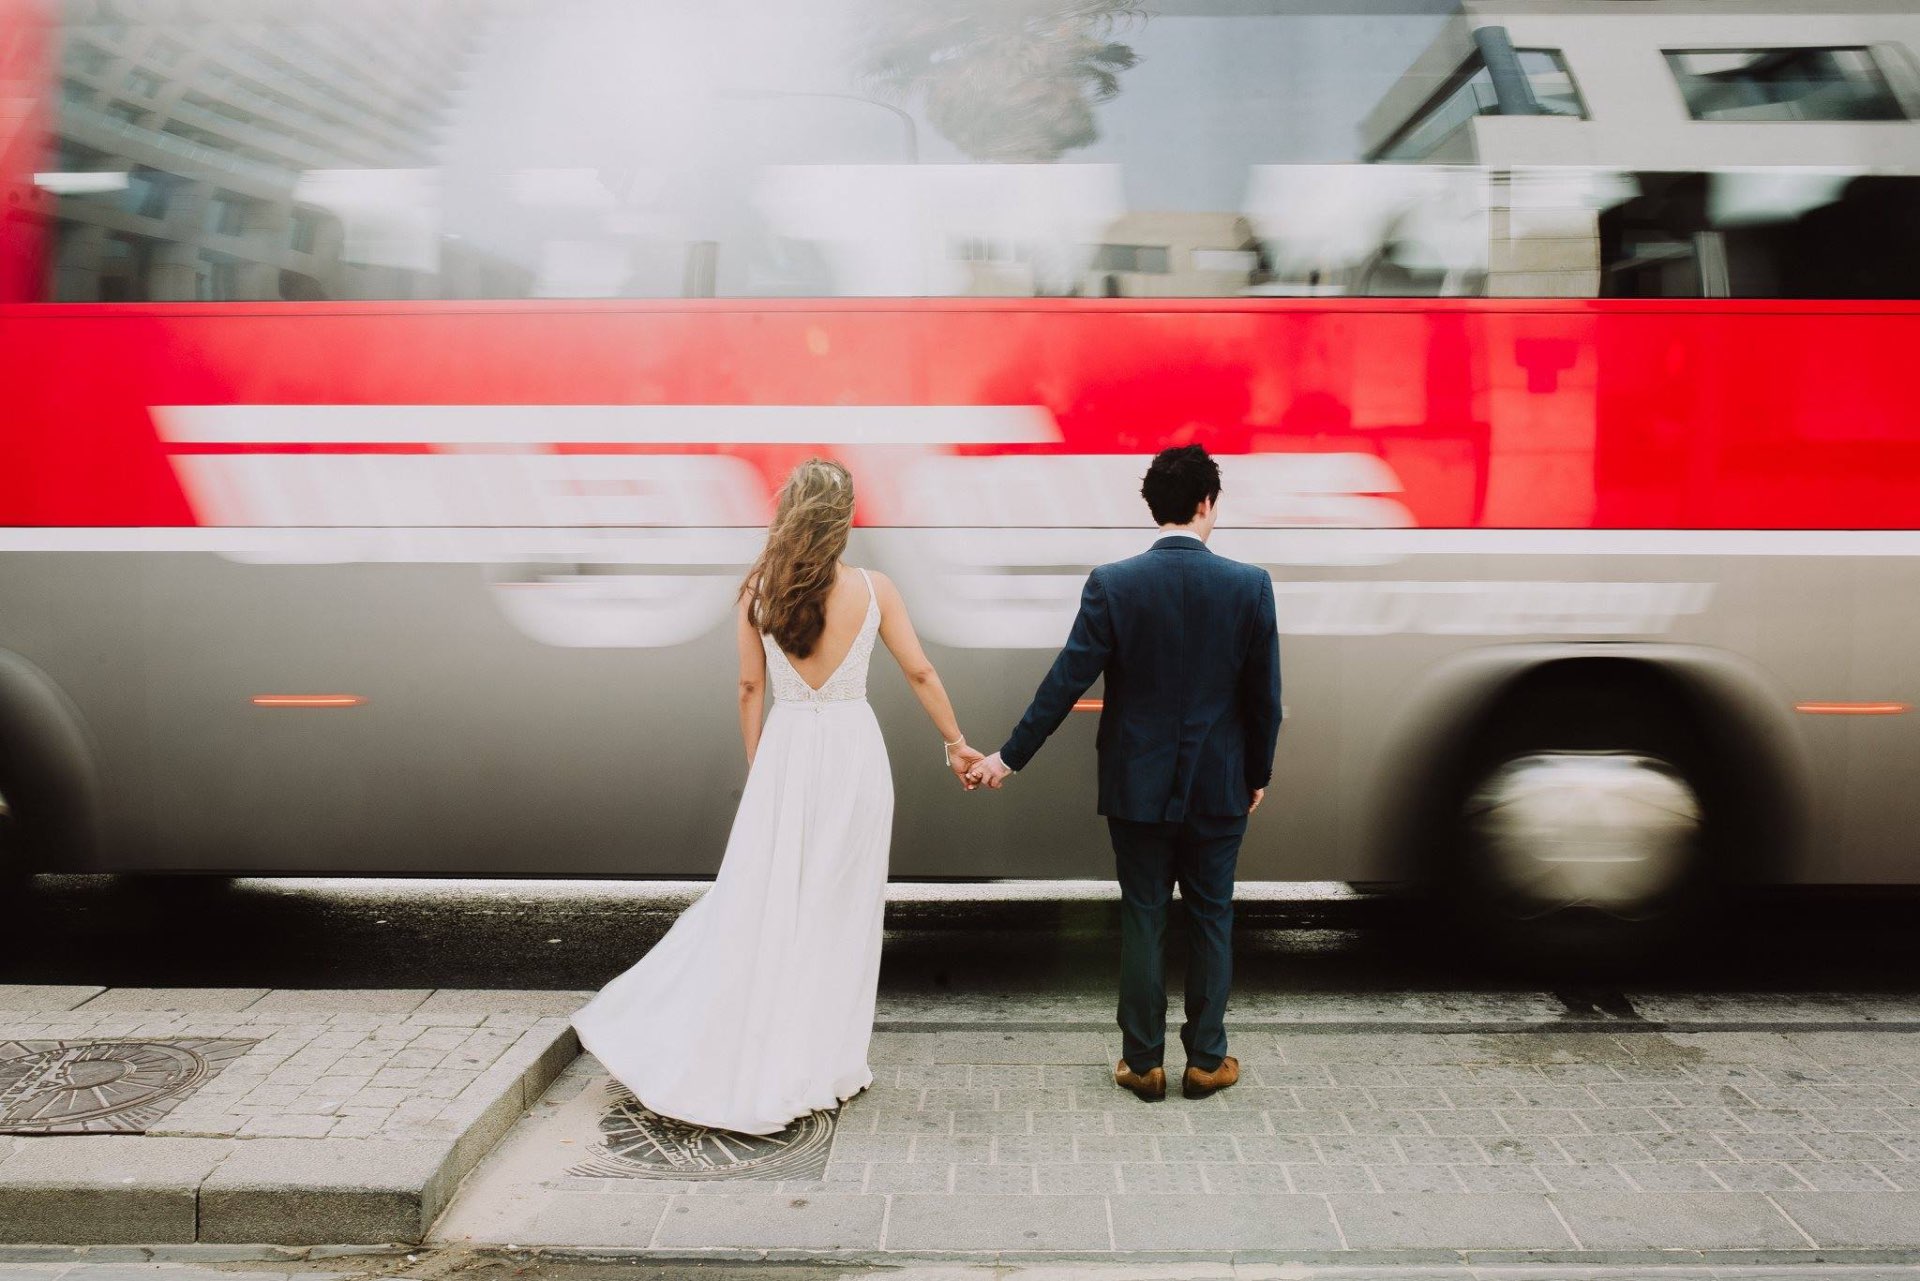
Shutter speed
1/500s
Result
Crisp movement
Exposure
Less light
Try it for: Walking, events, street.
Subject blur comes from what you photograph moving. Camera shake comes from your hands moving. A faster shutter helps both.
Use 1/1000 for running, around 1/500 for active people and at least 1/250 for relaxed movement.
As a rough starting point, keep shutter speed at least as fast as 1 divided by focal length. With 50mm, begin around 1/60 or faster.
Stabilization reduces camera shake, not subject movement. It cannot freeze a person who is walking.
Quick check
Chapter 04
Signal and image quality
ISO does not create light. It amplifies the signal recorded by the sensor. A higher value makes the image brighter, but it can reduce detail, color accuracy and dynamic range while making noise more visible.

Signal gain
ISO 400
File
Clean
Use
Cloud, interiors near windows
Choose aperture for depth and shutter speed for movement. Then raise ISO until the exposure works.
A sharp photograph at ISO 6400 is usually more useful than a clean but blurred photograph at ISO 400.
Set a maximum ISO and minimum shutter speed. The camera can then react to changing light without taking away your creative choices.
Brightening a severely underexposed file later can reveal more noise than choosing a suitable ISO while shooting.
Quick check
Chapter 05
Sharpness, perspective and color
Exposure gets the light right. Focus, focal length and color decide where the viewer looks and how the scene feels.
Focuses once and locks. Use it for still subjects, products and landscapes.
Keeps adjusting while the subject moves. Use it for people, events, children and action.
A small point gives precision. A zone helps with unpredictable movement. Wide area is fast but gives the camera more control.
Excellent for people and animals, but still check that it found the nearest important eye.
Wide view for interiors, landscapes and strong foregrounds. Keep faces away from the edges.
A natural storytelling view that includes a person and their environment.
Balanced and familiar. Useful for portraits, details and everyday photography.
Narrower view, more compression and cleaner backgrounds. Great for portraits and distant subjects.
Controls whether neutral light appears warm or cool. Auto works often. Use a fixed Kelvin value when color must stay consistent across a sequence.
Tells the camera which part of the frame to evaluate for exposure. Multi or matrix metering is the best default. Watch highlights in difficult light.
In A or S mode, use the +/− control when the camera makes the image too bright or dark. Start with small 1/3-stop changes.
RAW keeps more editing latitude. JPEG is smaller and already processed. RAW + JPEG is an easy learning setup if storage allows.
Single shot is calm and deliberate. Low burst helps with expressions. High burst belongs to action, not every moment.
A graph of brightness from shadows on the left to highlights on the right. A wall pressed against either edge can mean lost detail.
Chapter 06
A repeatable workflow
Do not spin every dial at once. Make one creative decision, protect the photograph from blur, then solve the remaining brightness with ISO.
Set aperture for the amount of focus you want.
Set a shutter speed fast enough for the subject and your hands.
Raise ISO until the meter, histogram and preview show a useful exposure.
| Scene | Mode | Aperture | Shutter | ISO |
|---|---|---|---|---|
| Portrait outdoors | A or M | f/1.8 to f/2.8 | 1/250 or faster | Auto ISO, max 3200 |
| Street and travel | A | f/4 to f/5.6 | 1/250 minimum | Auto ISO, max 6400 |
| Landscape | A or M | f/8 | As needed, tripod below 1/60 | ISO 100 |
| Children or action | S or M | f/2.8 to f/5.6 | 1/1000 | Auto ISO |
| Indoor event | M + Auto ISO | f/1.8 to f/2.8 | 1/250 | Auto ISO, max 6400 |
| Night city | M | f/5.6 to f/8 | 1 to 10 seconds, tripod | ISO 100 |
These are starting points, not laws. Change them when the light, subject or result asks for something different.
Before the first frame
The whole lesson in one line
Aperture decides the depth. Shutter decides the motion. ISO helps you make the exposure work.